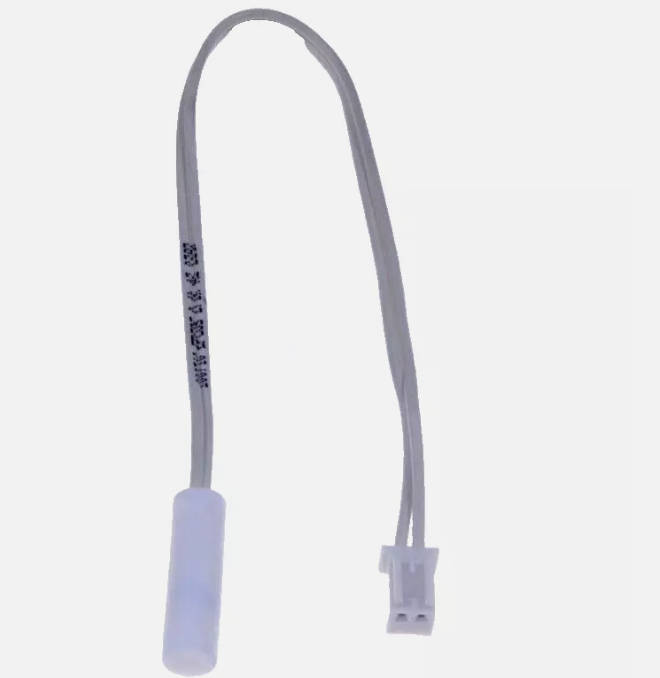
Bush Kenwood Fridge Freezer Temperature Sensor
- This part fits the following models. For more information/help please contact us before buying.
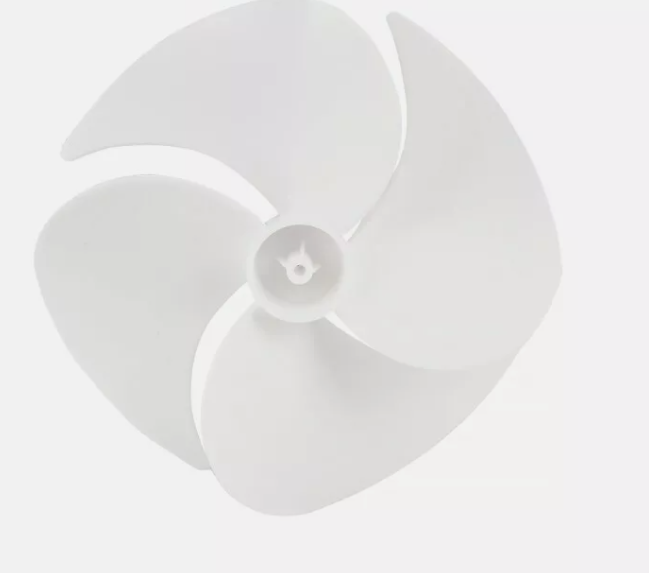
Kenwood Fridge & Freezer Fan Blade 145mm
- Genuine Kenwood Fridge & Freezer Fan Blade
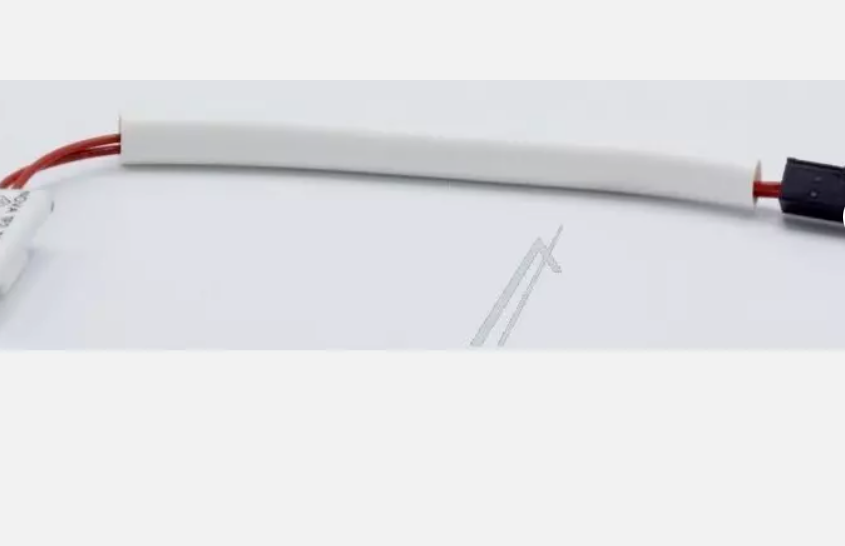
Kenwood KIFF5022 KIFF7022 KTF60X22 Fridge Freezer Temperature Fuse
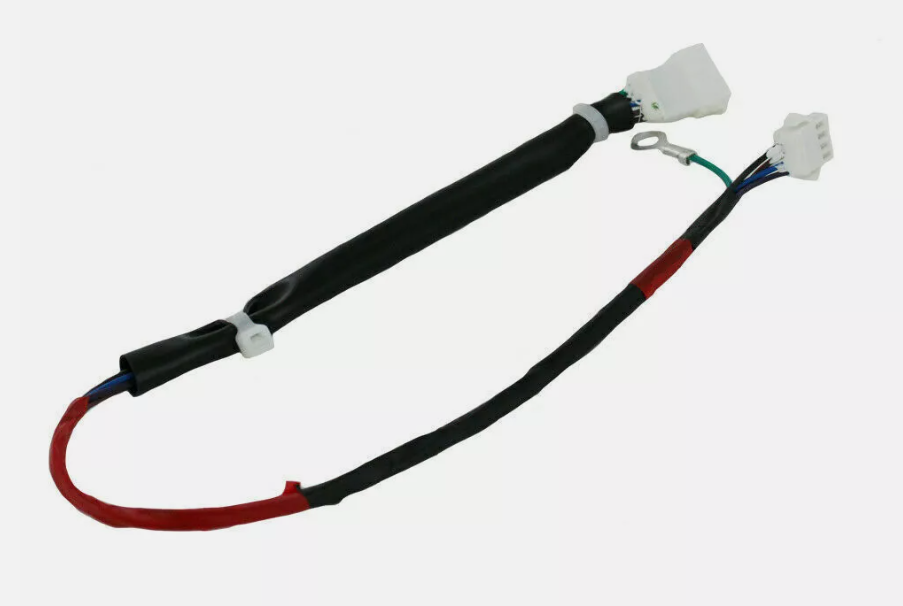
Hisense Kenwood PCB Display Board Wire Connecting Wiring Harness Fridge Freezers
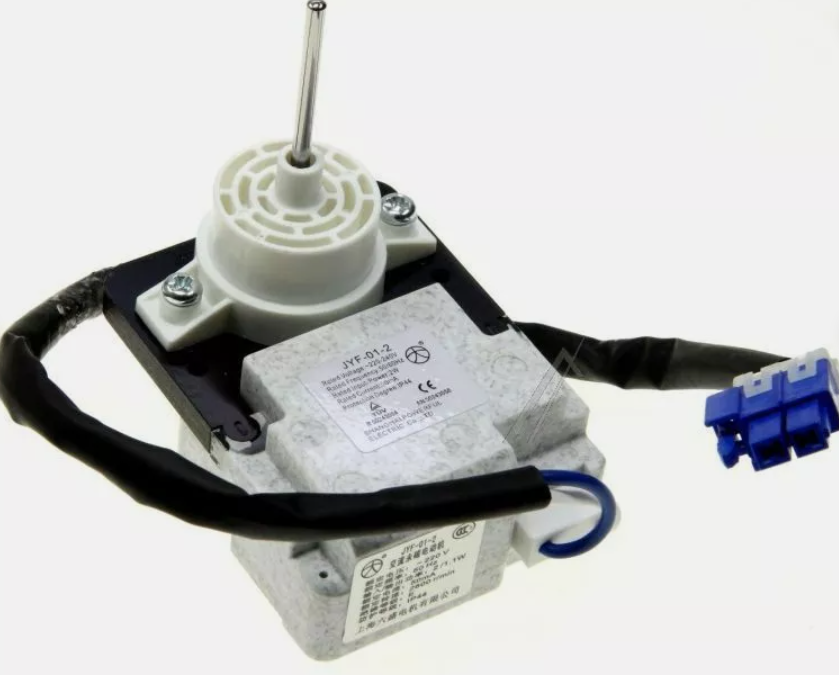
Genuine Kenwood Hisense Fridge Fan Motor AC 220/240V 2W : JYF-01-2 KFC55B15
- Genuine Kenwood Hisense Fridge Freezer Fan Motor
- Genuine Replacement Parts for household appliances at low prices.
From Seals to Shelves: Navigating the World of Kenwood Appliance Maintenance
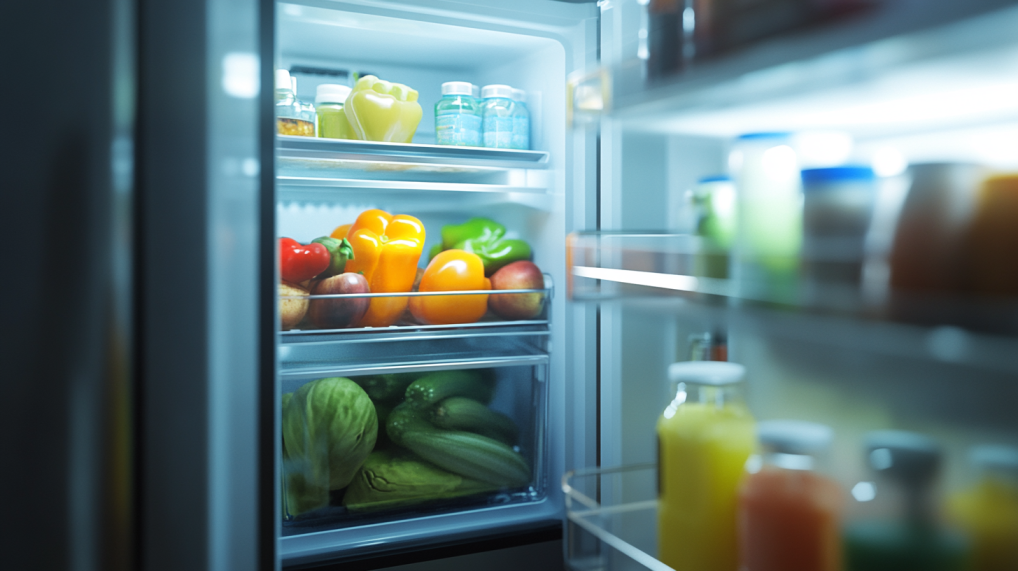
Let’s face it: your trusty Kenwood fridge freezer is the unsung hero of your kitchen. It’s there day and night, tirelessly keeping your food fresh and your drinks chilled. But what happens when this faithful appliance starts showing signs of wear and tear? Fear not, intrepid DIY enthusiast! This comprehensive guide will walk you through the ins and outs of Kenwood fridge freezer parts, empowering you to tackle repairs and keep your cool kitchen companion running smoothly.
The Hunt for Kenwood Parts: Where to Look
Before we dive into the nitty-gritty of repairs, let’s address the burning question: where on earth can you find Kenwood fridge freezer parts? The good news is that you’ve got options aplenty. While physical appliance stores might stock some common parts, the internet is your oyster when it comes to sourcing specific components.
Online marketplaces like eBay and Amazon often have a wide selection of Kenwood parts available. However, be sure to exercise caution and verify the seller’s reputation before making a purchase. For a more direct approach, you can also check out specialized appliance parts websites or even contact Kenwood’s customer service for guidance on authorized retailers.
Pro tip: Always have your fridge freezer’s model number handy when searching for parts. This little sequence of numbers and letters is your golden ticket to finding the perfect match for your appliance.
Common Culprits: Frequently Replaced Kenwood Parts
Now that you know where to look let’s talk about what you might be looking for. Some parts in your Kenwood fridge freezer are more prone to wear and tear than others. Here’s a rundown of the usual suspects:
- Door seals: These rubber gaskets ensure your fridge stays airtight, keeping the cold in and the warm air out.
- Shelves and drawers: Over time, these can crack or break, especially if you’re prone to overloading them (we’ve all been there after a big grocery haul).
- Water filters: If your Kenwood model has a water dispenser or ice maker, you’ll need to replace this filter periodically.
- Thermostats: The brain of your fridge’s cooling system, a faulty thermostat can lead to temperature control issues.
- Light bulbs: Because fumbling for leftovers in the dark is no fun.
- Door hinges: These can wear out over time, causing alignment issues.
- Handles: They’re not just for show – a broken handle can make accessing your fridge a real pain.
DIY Repairs: Tackling Common Issues
Now, let’s roll up our sleeves and get into some hands-on repair action. Remember, if you’re not comfortable with any of these procedures, it’s always best to call in a professional. Safety first, folks!
Sealing the Deal: Replacing a Door Seal
A worn door seal can lead to energy wastage and poor cooling performance. Here’s how to replace it:
- Identify the correct replacement seal for your model.
- Remove the old seal by gently pulling it away from the door. Some models may have screws holding it in place.
- Clean the groove where the seal sits with warm, soapy water.
- Start fitting the new seal at a corner, working your way around the door.
- Use a hairdryer to gently warm the new seal, making it more pliable and easier to fit.
Let There Be Light: Changing the Bulb
Don’t be left in the dark! Changing a fridge light bulb is usually a straightforward process:
- Unplug the fridge or switch off the relevant circuit breaker.
- Locate the light cover – it’s typically at the top or back of the fridge compartment.
- Remove the cover (it usually slides or clips off).
- Unscrew the old bulb and replace it with a new one of the same wattage and type.
- Replace the cover and restore power.
Staying Cool: Installing a New Thermostat
If your fridge is running too warm or too cold, the thermostat might be the culprit. Here’s a general guide to replacing it:
- Unplug the fridge and locate the thermostat (usually behind the control panel).
- Remove any screws or clips holding the control panel in place.
- Disconnect the wires from the old thermostat, taking note of their positions.
- Remove the old thermostat and install the new one.
- Reconnect the wires and reassemble the control panel.
The Price of Cool: Understanding Kenwood Part Costs
Now, let’s talk money. The cost of Kenwood fridge freezer parts can vary widely depending on the specific component and where you purchase it. Simple parts like door seals or light bulbs might set you back anywhere from $10 to $50. More complex components like thermostats or ice makers can range from $50 to $200 or more.
Keep in mind that buying genuine Kenwood parts might be pricier than generic alternatives, but they often offer better quality and fit. It’s a classic case of “you get what you pay for.”
Warranty Wisdom: What’s Covered?
Before you start ordering parts willy-nilly, it’s worth checking if your Kenwood fridge freezer is still under warranty. Kenwood typically offers a standard warranty period, during which certain parts and labor costs may be covered.
However, it’s important to note that warranties usually don’t cover damage from misuse or normal wear and tear. Always read the fine print and, when in doubt, contact Kenwood’s customer service for clarification.
Model Matters: Identifying Your Kenwood Fridge Freezer
Remember that golden ticket we mentioned earlier? Your fridge’s model number is crucial for finding the right parts. But where is this elusive code hiding?
In most Kenwood fridge freezers, you can find the model number on a sticker inside the fridge compartment. Check the side walls, near the door frame, or behind the salad crisper drawers. If you’re still having trouble, consult your user manual or Kenwood’s website for model-specific information.
DIY Kits: All-in-One Solutions
For the true DIY enthusiasts out there, Kenwood offers repair kits for some common issues. These kits often include multiple parts and detailed instructions, making them a convenient option for tackling larger repair jobs.
Look for kits designed for tasks like replacing door seals, fixing ice makers, or maintaining cooling systems. They can be a cost-effective way to address multiple issues at once and extend the life of your appliance.
Coil Conundrums: Maintaining the Condenser
The condenser coil is a crucial component of your fridge’s cooling system, and keeping it clean can significantly improve efficiency. Here’s how to show it some love:
- Unplug the fridge and locate the condenser coil (usually at the back or underneath the fridge).
- Use a coil brush or vacuum cleaner with a brush attachment to gently remove dust and debris.
- For stubborn grime, use a mixture of warm water and mild detergent, applied with a soft cloth.
- Dry the coils thoroughly before plugging the fridge back in.
Regular cleaning (every 6-12 months) can prevent overheating and reduce energy consumption.
Manual Magic: Finding Documentation
When all else fails, your Kenwood fridge freezer’s user manual can be a treasure trove of information. If you’ve misplaced the physical copy, fear not! Many manufacturers, including Kenwood, offer digital versions of their manuals online.
Visit Kenwood’s official website and look for a “Support” or “Manuals” section. You’ll typically need to enter your model number to access the relevant documentation. These manuals often include parts diagrams, troubleshooting guides, and maintenance tips specific to your model.
The Ice Maker Cometh: Replacement and Repair
Is your ice maker on the fritz? Here’s a general guide to replacing this cool component:
- Unplug the fridge and shut off the water supply.
- Remove any screws or clips holding the ice maker in place.
- Disconnect the wiring harness and water line.
- Install the new ice maker, reconnecting the wiring and water line.
- Secure the new unit and restore power and water.
Remember, ice maker designs can vary significantly between models, so always consult your user manual or a professional if you’re unsure.
Conclusion: Empowering Your Inner Appliance Whisperer
There you have it – a comprehensive guide to navigating the world of Kenwood fridge freezer parts. From identifying common issues to tackling DIY repairs, you’re now equipped with the knowledge to keep your cool companion running smoothly.
Remember, proper maintenance is key to extending the life of your Kenwood fridge freezer. Regular cleaning, prompt replacement of worn parts, and addressing small issues before they become big problems can save you money and headaches in the long run.
Whether you’re a seasoned DIY pro or a curious beginner, don’t be afraid to roll up your sleeves and get hands-on with your appliance. Just remember to prioritize safety, consult your user manual, and know when it’s time to call in the professionals.
So the next time your Kenwood fridge freezer throws you a curveball, you’ll be ready to step up to the plate. Happy repairing, and may your fridge always be cool and your freezer frosty!
